Myrepeater.net
Myrepeater.net
Several up-gradation in technology changes the life of people by making it easy and interesting. Nowadays, you can easily do several things by just sitting at home and accessing the internet. But, sometimes due to poor or weak internet connections, you may face difficulty in browsing. You can resolve this problem by setting up the router at your home or workspace and can extend the WiFi signals by using the repeater. To use the repeater for better WiFi range and connectivity, you have to access myrepeater.net and configure it correctly. Scroll down to know the steps to configure your device.
Instructions to Configure Repeater Using Myrepeater.net
Follow the below steps to configure the repeater to extend the wireless network by using the myrepeater.net web address:
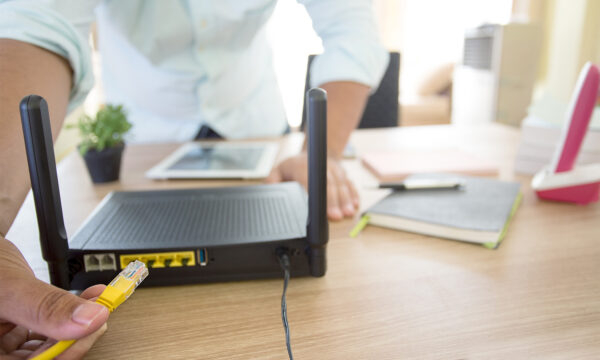
Step 1: Firstly, plug in your repeater to the power socket and wait for some time until the power LED light turns green.
Step 2: After that, connect your device such as laptop or smartphone with the WiFi repeater. Make sure that the wireless connection that you have selected is open so that you do not need to enter the password for establishing the connection.
Step 3: Launch any internet browser of your choice from your device. Enter myrepeater.net in the URL bar of the browser that you have selected.
Step 4: Now, you will be navigated to the login screen of your repeater where you have to enter the default username and password. Click on the login button to navigate you to the dashboard of the repeater.
Step 5: Next, you will get two options to set up your repeater i.e. repeater or AP. Repeater mode is used for the wireless connection and AP mode is used for the wired connection.
Step 6: To initiate the setup process for the wireless repeater, tap on the repeater mode option. Your device will automatically scan for the nearby wireless connections.
Step 7: To start the wireless repeater setup, tap on the repeater mode option. Thereafter, your device will start scanning for the nearby wireless network nearby you.
Step 8: Choose your wireles network from the list that you want to expand. Tap on the main wireless network.
Step 9: Now, you need to enter the wireless password for the main WiFi connection. Tap on the unmask check box to ensure that you have entered the correct password.
Step 10: Next, you can change the wireless name of your repeater. Hit on the “Apply” button to set up your repeater. Wait for some time until you will get the settings saved message on your screen.
Step 11: At last, tap on the wireless icon and search for the wireless name of your repeater. Tap on it and enter the password that you are using for the main WiFi to connect with it.
Procedure to Setup Repeater in AP Mode
Use the AP mode setup method to connect your router and repeater to the LAN connection. Use an Ethernet cable to connect the repeater to the LAN port of the router. Go through the below steps to set up the repeater in AP mode:
Step 1: Connect your router from the LAN port of the router to the repeater using an Ethernet cable. Also, plug in the repeater to the electrical outlet.
Step 2: Turn on your device which is connected to the router.
Step 3: Open a web browser and enter myrepeater.net or 192.168.10.1 IP address in the URL bar.
Step 4: Next, enter the default username and password in the login window of your repeater. Tap on the Submit button to enter the repeater setup wizard.
Step 5: Choose the AP mode under the AP mode in the dashboard of your repeater to complete the repeater setup in AP mode.
Step 6: Enter all the required details and create the wireless name for your wireless repeater.
Step 7: Tap on the apply button to complete the setup for the wireless repeater in AP mode.
Step 8: Connect any device with the wireless name of your repeater and check for the proper internet connection.
